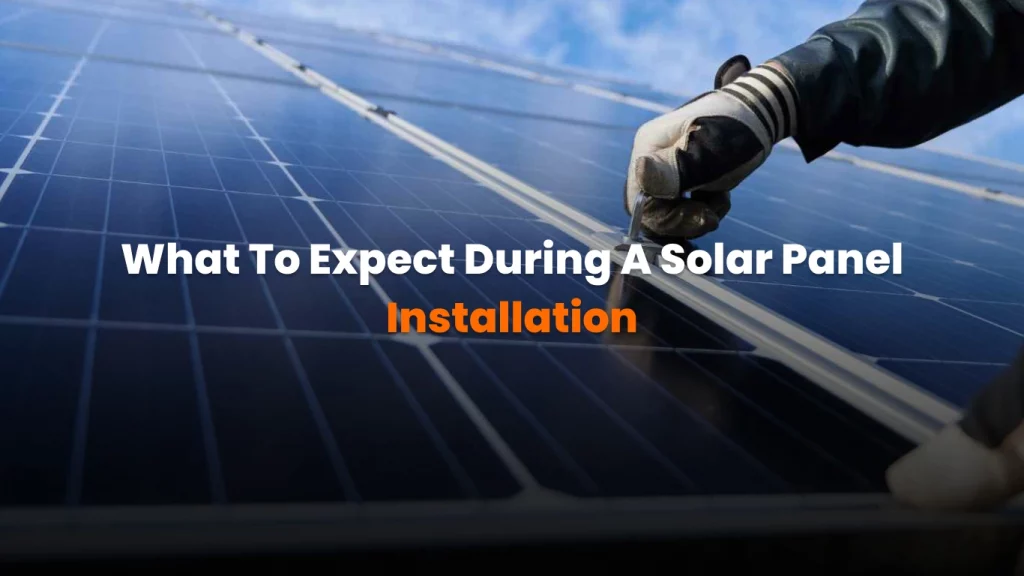
Installing solar panels is one of the best ways to reduce energy bills, lower carbon emissions, and increase the value of your home. But if you’re considering making the switch, you might be wondering: what actually happens during the installation process? From the first consultation to flipping the switch on your new system, there are several important steps to know about.
Understanding the process not only helps set expectations but also gives homeowners confidence when working with installers or, for some, when exploring DIY solar panel installation as an option. Let’s walk through each stage in detail.
Step 1: the initial consultation and site evaluation
Every installation begins with a consultation, where a solar company—or a homeowner researching DIY options, reviews your property’s potential for solar. The evaluation typically includes:
- Roof orientation and slope: South-facing roofs in the U.S. get the most sunlight, but east- and west-facing roofs can also work.
- Shading analysis: Trees, chimneys, or nearby buildings may reduce solar exposure.
- Roof condition: If your roof is older than 15–20 years, experts recommend replacing it before installing panels.
The installer will also review your household’s energy usage. By analyzing utility bills, they determine how much solar power your system should generate. This step ensures your system is customized to your needs.

Step 2: system design and permits
Once your site is approved, designers create a system tailored to your roof. This includes determining how many panels are needed, where they should be placed, and whether you’ll also install inverters, batteries, or an electric vehicle (EV) charger.
Here’s where permitting comes in. Local governments often require building and electrical permits, and your utility company may need to approve your system for grid interconnection. While professional installers handle this paperwork, homeowners considering DIY solar panel installation should know this can be the most time-consuming part of the process.
Step 3: ordering equipment and scheduling installation
After the design is finalized and permits approved, it’s time to order the solar panels, inverters, and mounting hardware. By August 2025, the U.S. market offers a wide variety of high-efficiency monocrystalline panels, many boasting efficiencies of 21–23%. String inverters and microinverters remain popular options, while hybrid inverters, capable of integrating battery storage, are increasingly common.
Most homeowners don’t need to worry about sourcing equipment, but those attempting a DIY solar panel installation will need to carefully select reliable products that meet local building codes and utility requirements.
Step 4: preparing your roof
On installation day, technicians first prepare the roof. This includes:
- Marking where the racking (the frame that supports the panels) will go.
- Installing flashing to prevent leaks.
- Ensuring the roof structure can handle the weight of the system.
Professional crews are trained to protect the roof during this step. For DIY installers, this is where experience matters most, incorrect flashing or racking placement can lead to roof damage or water infiltration.
Step 5: mounting and wiring the panels
Once the racking is secure, panels are mounted and connected to the electrical system. Wiring involves running conduit, installing inverters, and ensuring everything complies with the National Electrical Code (NEC).
This step requires precision. Improper wiring can create safety hazards, including the risk of electrical fires. Licensed electricians are typically involved in professional installations. While DIY solar panel installation is possible, most homeowners find this stage challenging without electrical experience.
Step 6: inspection and utility approval
After installation, a city or county inspector visits to verify the system meets building and electrical codes. Once the system passes inspection, the utility company gives permission to operate (often called PTO). At this stage, your home is officially ready to generate solar electricity and send excess power back to the grid if net metering is available.
Net metering policies vary by state. For example, California shifted to a new version of net billing (NEM 3.0) in 2023, reducing the compensation for exported solar power. Other states, like New Jersey and Massachusetts, continue offering strong incentives. Staying updated on local policies ensures homeowners maximize savings.
Step 7: flipping the switch
With inspections complete and PTO granted, your system is turned on. Homeowners immediately begin producing electricity, reducing their reliance on the utility grid. Many solar systems today are paired with monitoring apps, allowing you to track energy production in real time.
If you’ve added battery storage, you’ll also have backup power during outages—a feature becoming increasingly valuable as climate-related grid disruptions grow.
DIY solar panel installation: is it worth it?
Some homeowners consider bypassing professional installers in favor of DIY solar panel installation. While this route can reduce upfront costs, it comes with trade-offs:
- Permits and codes: Homeowners are responsible for securing permits and ensuring compliance with local codes.
- Safety risks: Working at heights and handling electrical wiring can be dangerous without proper training.
- Limited warranties: Many manufacturers only honor warranties if panels are installed by certified professionals.
- Financing challenges: Solar loans and incentives may not apply to DIY projects unless done with a licensed contractor.
Still, DIY solar can appeal to experienced homeowners with construction or electrical skills. For others, hiring a reputable installer provides peace of mind and access to professional warranties.
What homeowners should expect in 2025
The solar industry in 2025 continues to grow rapidly, with over 200 gigawatts of installed capacity in the United States, according to the Solar Energy Industries Association (SEIA). Costs for solar panels have fallen significantly since 2010, though supply chain pressures and tariff changes have kept prices relatively stable over the past two years.
Most installations are completed in 1 to 3 days, though permitting can stretch the timeline to several weeks or even months. As demand grows, homeowners are encouraged to start early, especially if aiming to qualify for incentives like the federal Investment Tax Credit (ITC), which remains at 30% through 2032.
The bottom line
Installing solar panels is a structured process with clear steps, from consultation to activation. Professional installations offer convenience, safety, and access to incentives, while DIY solar panel installation may suit a small number of skilled homeowners willing to take on the added responsibility.
Whether you choose professional or DIY, understanding the process empowers you to make informed decisions, maximize savings, and enjoy the long-term benefits of clean, renewable energy.