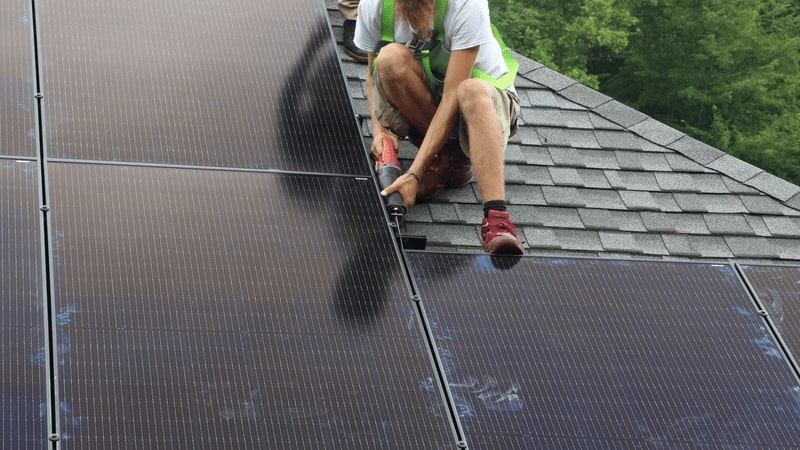
If you’ve ever dreamt of powering your home with clean, renewable energy, a DIY solar installation might be just the project for you.
In this comprehensive guide, we’ll walk you through the planning process to ensure you get your installation right the first time. We’ve got you covered, from assessing your energy needs to selecting the right equipment for the job.
Then, once you have your project planned, you’ll want to check out our handy DIY solar rooftop installation guide.
Ready? Let’s go!
Step 1: Are you prepared for a DIY solar installation project?
Evaluate your DIY skills and determine the level of assistance required. Assess your comfort level with installing racking systems, wiring, and connecting to the electrical panel. Identify areas where you may need assistance from local contractors, equipment manufacturers, or distributors. Remember that DIY kits are available if you’d prefer not to shop around for all your parts.
Step 2: Create a documentation system
Create a comprehensive documentation system to store quotes, permits, site assessments, and all other relevant documents. Use this documentation for planning, obtaining permits, and as a reference guide during installation.
By doing so, you’ll be well-prepared for your DIY solar system installation and have documentation on hand for realtors, potential buyers, and lenders should you decide to sell your property.
Step 3: Research local regulations and obtain the necessary permits
Before you start permanently attaching a solar system to your roof, ensure you’re permitted to do it.
Contact your local building department or municipality and inquire about their requirements and regulations for solar installations. Gain an understanding of zoning laws, setback requirements, and other relevant guidelines. Once they’ve confirmed you can add a solar system, you’ll need to
Submit all necessary documentation for permit applications, which may include
- Site plans showing the location of the solar panels.
- System design and specifications.
- Structural details and engineering reports (if required).
- Electrical diagrams and plans.
Keep all permit-related documentation on hand and store copies of approved plans, permits, and inspection reports if you decide to sell your property.
Step 4: Perform a Financial Analysis
Performing a financial analysis for a solar installation involves assessing costs, incentives, energy savings, and return on investment.
Determine Initial Costs
List all costs associated with your solar installation, including:
- Solar panels
- Inverters
- Mounting and racking systems
- Wiring and electrical components
- Permits and fees
- Installation labor (if applicable)
- Any additional construction or reinforcement costs
Research Incentives and Rebates
Explore available incentives and rebates at local, state, and federal levels. Common incentives include federal tax credits, grants, rebates, and Renewable Energy Certificates (RECs).
For grid-tied systems, explore net metering opportunities. Net metering allows you to sell excess energy to the grid, potentially earning credits on your utility bill.
Estimate Energy Savings
Calculate the expected energy savings over the system’s lifespan. Consider your current energy consumption, the efficiency of the solar panels, and local solar irradiance. Project energy savings over the solar system’s lifetime, typically 25-30 years.
Calculate Return on Investment (ROI)
Determine the return on investment for your solar project using the formula:
ROI=(Net Return on Investment/Cost of Investment)×100
Evaluate Payback Period
Calculate the time it takes for the energy savings and incentives to cover the initial investment.
Payback Period = Total Investment/Annual Savings
Consider Financing Options
Determine the impact of financing on your overall financial analysis.
Factor in Maintenance Costs
While solar systems are generally low-maintenance, consider potential costs for cleaning, inspections, and occasional repairs.
Compare Financial Scenarios
Consider variations in energy prices, system performance, and possible incentive changes. Run sensitivity analyses to understand the impact of varying factors on your financial outcomes.
Consult with Professionals
Seek advice from solar professionals or financial advisors who can provide insights into local incentives, tax implications, and financial considerations specific to your situation.
Step 5: Conduct a Site Assessment
Conducting a site assessment for a DIY solar system is crucial to ensure your installation’s success and efficiency. Here are the steps you’ll need to take to pick the right spot for your solar system:
Perform a shading analysis
Identify potential sources of shading that may affect solar panel performance using shading analysis using tools like a Solar Pathfinder or online shading calculators. Note the presence of trees, buildings, or other obstructions that cast shadows on the proposed solar panel location. Plan your project to avoid those obstructions, remove them, or switch to a ground-mounted solar system if you cannot work around them.
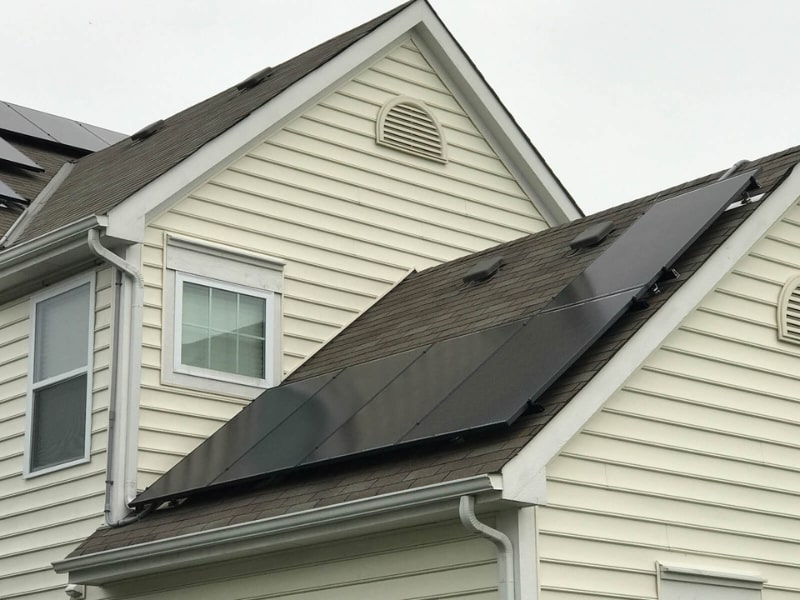
Assess the condition and suitability of your roof for solar panel installation
Inspect the roof for signs of damage or deterioration that need repair before installation. Consider the age of your roof and determine its remaining lifespan. If it’s toward the end of its lifespan, replace it before attaching solar panels.
During your inspection, you may Identify other opportunities to improve energy efficiency, such as improving insulation or sealing air leaks.
If you’re unsure about any aspect of the roof inspection, consult with a professional roofer or structural engineer. Their expertise can help ensure the roof is in good condition and adequately prepared for installation.
Set your solar panel orientation
Determine the optimal orientation and tilt for solar panels. Aim for a south-facing orientation in the Northern Hemisphere. Use this tool to determine the optimum tilt for your panels to capture the most sun at any given time of year.
Step 6: Assess Your Energy Needs
Before you make any purchases, it’s essential to understand your current energy consumption. Doing so will ensure you purchase the right solar panels for your project. If you overestimate and buy too many panels, you could overspend and have excess materials.
On the other hand, if you purchase too few panels, you won’t be able to power your system!
Here’s how to start on the right foot:
Gather Utility Bills
Collect your utility bills for the past 12 months. These bills provide information on your monthly and yearly energy consumption. Look for the total kilowatt-hours (kWh) used each month.
Calculate Average Monthly Usage
Add up total kWh for the last 12 months and divide that sum by 12 to calculate average monthly energy usage.
Average monthly usage= Total kWh for 12 months/12
Consider Seasonal Variation
Note any significant seasonal variations in your energy consumption. Some households use more energy during certain seasons due to heating, cooling, or other factors. Understanding these patterns helps you size your solar system to meet peak demands.
Factor in Future Changes
Consider any anticipated changes in your energy consumption. Are you planning to add new appliances, expand your living space, or purchase an electric vehicle? Accounting for future changes ensures that your solar system is designed to meet evolving needs.
Determine Solar System Efficiency
Solar panels are rated by their capacity to generate electricity, typically measured in watts (W) or kilowatts (kW). Consider the efficiency of the solar panels you plan to use. Higher-efficiency panels produce more electricity in the same amount of space
Calculate Daily Solar Energy Production
Estimate the daily solar energy production in your location using an online solar calculator or map
Determine System Size
Calculate the size of the solar system needed to meet your energy requirements.
Divide your average monthly usage by the average daily solar energy production to estimate the system size in kilowatts.
System Size (kW)= Average Daily Solar Energy Production/ Average Monthly Usage
Consider Panel Degradation and Losses
Account for potential losses from panel degradation, inverter efficiency, and shading. Manufacturers typically provide information on panel degradation rates and inverter efficiencies. Adjust your system size to accommodate these losses.
Round Up for Practicality
Solar panels are typically sold in standard sizes, so round up your calculated system size to the nearest available panel size. This ensures practicality in terms of purchasing and installing solar panels.
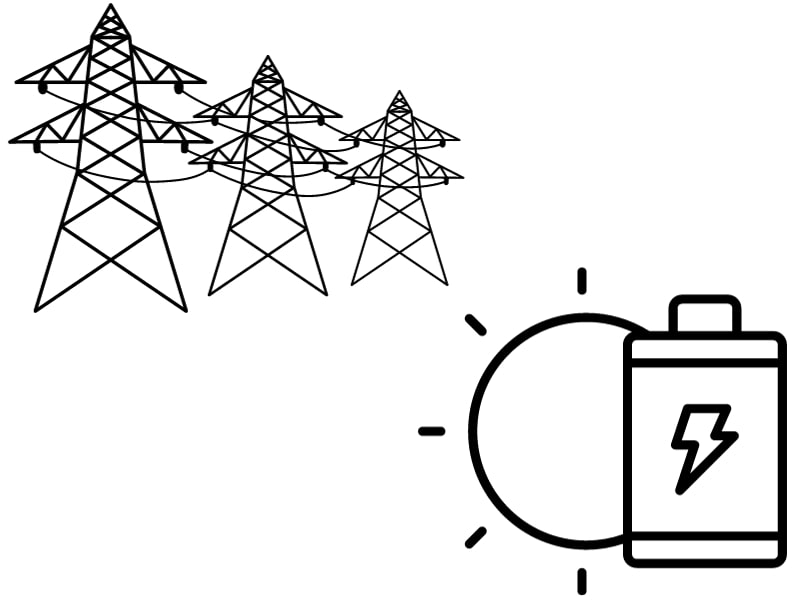
Step 7: Choose whether you want a grid-tied or off-grid system
There are two main types of solar systems: grid-tied and off-grid.
A grid-tied system is connected to the main utility grid. Residential and commercial customers who generate their electricity may sell excess energy to utility companies in net metering agreements, allowing them to use their solar panels as long-term investments.
On the other hand, an off-grid system stores the electricity it generates inside batteries and runs independently of the grid.
Which one makes the most sense for you?
Let’s compare these two systems:
Upfront cost
Off-grid systems are more expensive upfront as they require battery storage. Storage is only optional for grid-tied systems, although it is becoming increasingly popular.
Financial incentives
Grid-tied systems allow you to enter into net metering contracts with your utility companies in most states, allowing you to sell excess electricity back to the grid and get a return on your investment. Off-grid systems do not provide this option because they are not tied to the grid.
In many regions, financial incentives and rebates are geared toward grid-tied systems. Off-grid users might miss out on these benefits.
Reliability
Grid-tied systems can provide a reliable and stable source of electricity. If your solar panels don’t produce enough energy due to a lack of sunlight or unfavorable conditions, you can use energy from the grid as a backup.
They don’t offer complete energy independence, as you are connected to and dependent on the grid.
By storing energy, off-grid systems allow you to be completely independent of the grid. This is especially advantageous in remote locations where connecting to the grid is impractical or expensive.
Maintenance
Maintenance is often more straightforward with grid-tied systems since managing and maintaining battery storage is unnecessary. Batteries require limited maintenance and typically need replacing every 5-15 years. This can get expensive.
Both systems will require semi-regular cleaning of solar panels.
Practicality
Properly sizing an off-grid system can be challenging, as it requires predicting energy consumption accurately and determining the correct battery capacity.
Batteries require maintenance and replacement every 5-15 years, adding some cost to your off-grid system. You’ll also need to consider scalability if you plan on expanding your energy needs.
So, which type makes the most sense?
Assess your budget for both initial installation and long-term maintenance. Off-grid systems typically have a higher upfront cost.
If complete energy independence is a priority, an off-grid system may be more suitable. If cost savings and grid support are essential.
Check local incentives and regulations. In some areas, financial incentives may favor grid-tied systems.
Assess the reliability of the local grid. An off-grid system might be more reliable if power outages are frequent in the area.
Consider future expansion plans. A grid-tied system may offer more flexibility if you plan to expand your energy needs.
Ultimately, deciding between a grid-tied and off-grid solar system depends on your specific circumstances, preferences, and goals. It’s often beneficial to consult with solar professionals to tailor the system to your unique needs.
Step 8: Select panels, inverters, and equipment
Choosing the right solar panels, inverters, and equipment involves balancing efficiency, cost, and specific installation requirements.
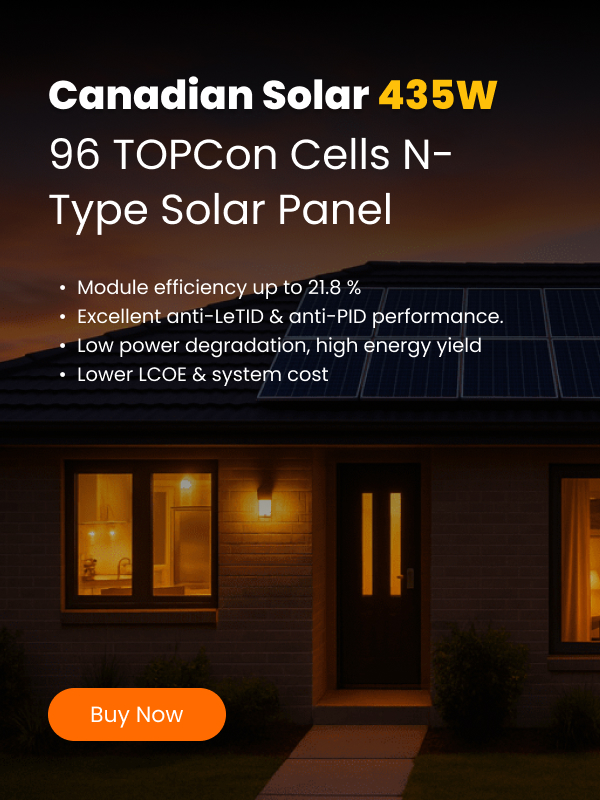
Solar panels
The main types of solar panels, such as monocrystalline, polycrystalline, and thin-film, offer different trade-offs.
Monocrystalline panels
Monocrystalline solar panels are known for high efficiency but may come at a higher cost.
Polycrystalline panels
Polycrystalline solar panels provide a more budget-friendly option with slightly lower efficiency.
Thin-film panels
Thin-film panels are flexible and lightweight, making them suitable for unique installations, but typically have lower efficiency.
It’s essential to calculate the levelized cost of energy (LCOE) to understand the long-term cost-effectiveness of different panel options. LCOE accounts for the system’s total cost over its lifespan, providing a comprehensive view of the investment.
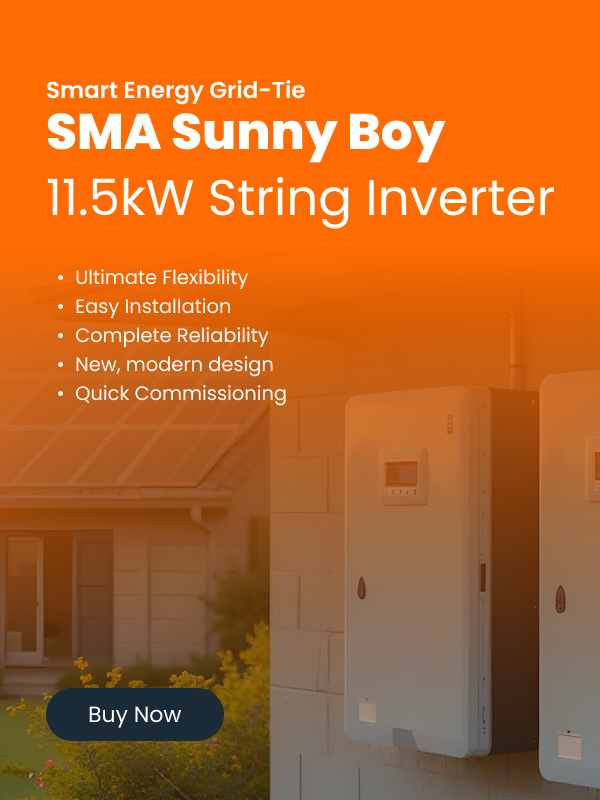
Inverters
There are three types of inverters used in solar projects: string inverters, microinverters, and power optimizers.
String inverters
String Inverters are the most common and cost-effective option, suitable for large, unshaded, and uniformly oriented solar arrays. They are named for how they “string” a set of solar panels to a single inverter. String inverters are simple and can be mounted inside a structure rather than on a rooftop. They are very efficient in the sun; however, in shade, the entire system is affected due to their string design.
Microinverters
Microinverters are installed on each panel which maximizes the efficiency of each unit. They are ideal for roofs with partial shading or panels oriented differently. However, they’re more expensive. Because they’re attached to the solar panels, if they fail, they can only be accessed by getting on the roof, which can be inconvenient.
Power optimizers
Power optimizers are also attached to each solar panel but function differently than microinverters. Power optimizers condition the DC power (adjust voltage) from each panel before sending it to a central inverter, which is converted to AC power. Optimizers are also helpful in systems that are partially shaded or have panels with different orientations.
To choose your inverter, calculate the total wattage of your appliances and devices that you plan to power with your solar system to determine the required capacity of your inverter to ensure it can handle your peak power demands. The inverter needs to match the voltage of your solar system for optimal efficiency. If you plan to expand your current solar system, choose an inverter with a higher capacity than your current needs to accommodate future growth. You’ll also need to consider safety features such as overload protection, short circuit protection, and temperature control.
Equipment
Aside from solar panels and inverters, here’s a basic list of equipment you’ll need for your DIY installation
Mounting System
This includes the racks and brackets needed to securely mount the solar panels on your roof or the ground.
Charge Controller (for Systems with Batteries)
This device regulates the flow of electricity to and from the battery bank to prevent overcharging and extend battery life.
Wiring and Conduits
Proper wiring is essential for connecting the solar panels to the inverter and the home’s electrical system. Conduits protect these wires.
Disconnect Switches
These are important for safety, allowing the solar system to be disconnected from the grid and other components for maintenance or emergencies.
Grounding Equipment
This is crucial for safety, ensuring the system is properly grounded to protect against electrical surges.
Energy Monitoring System
This allows you to monitor the performance of your solar system, including energy production and consumption.
Tools and Safety Gear
Basic installation tools (like drills, wrenches, and screwdrivers), as well as safety equipment (like harnesses, gloves, and safety glasses), are essential for a safe and effective installation.
Electrical Panels and Breakers
Depending on your existing electrical system, you might need to upgrade your electrical panel or add new breakers.
The bright idea:
You can simplify your solar installation if you do the work upfront.
Starting with an honest self-assessment of your DIY skills and seeking professional assistance where needed ensures a smooth process. Establishing a robust documentation system is crucial for planning and proves invaluable if you sell the property in the future.
Navigating through local regulations and obtaining necessary permits also set the stage for a successful solar project. Conducting a thorough financial analysis, including evaluating costs, incentives, and returns, helps you make informed decisions. The site assessment and energy needs analysis are pivotal for selecting the right spot for solar panels and determining the appropriate system size. Choosing between a grid-tied and off-grid system involves carefully considering upfront costs, financial incentives, reliability, maintenance, and practicality, all of which should align with your budget and goals.
Selecting solar panels, inverters, and equipment requires a balanced approach considering efficiency, cost, and installation requirements. Calculating the levelized cost of energy (LCOE) and staying informed about technological advancements contribute to an informed decision. For those opting for an off-grid system, adding storage requires careful consideration of energy consumption patterns, grid reliability, and return on investment.
Each step in the DIY solar installation process demands thoughtful consideration, and with the proper planning, your solar dreams can become a reality.
Call us today if you need some advice about planning your DIY project. We love working with DIYers like you, and we’re standing at the ready to help!