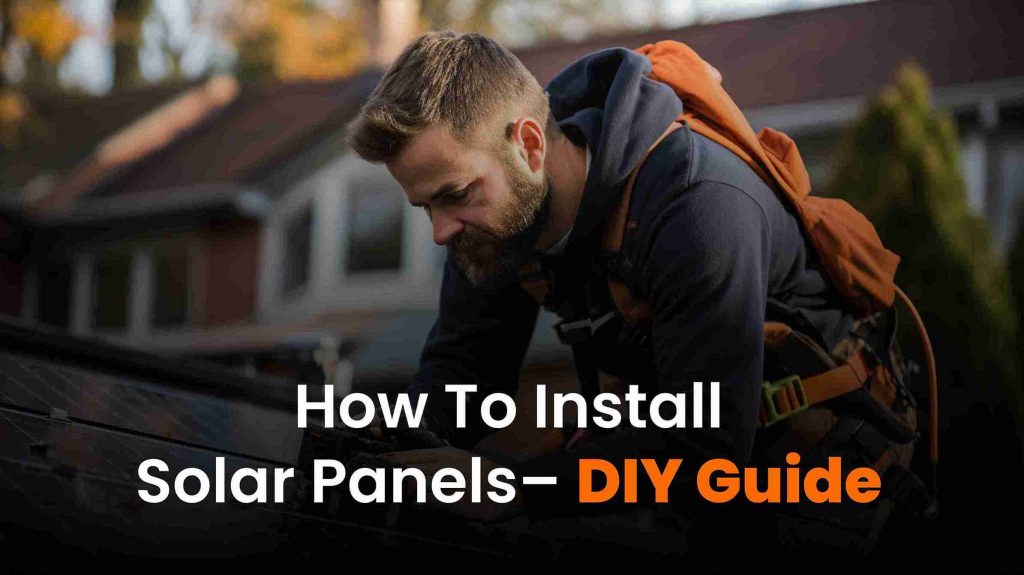
DIY Solar Panel – So, you’re thinking about DIYing your next solar project?
DIYing a solar panel installation is a great way to reduce costs and better understand how your new solar system works from the inside out. Plus, DIY solar projects are just plain fun!
This blog will give you the information you need to take your solar panel installation from start to finish.
Note that this blog assumes that you’ve already obtained permits, calculated how many panels you need, and completed all preliminary steps. Check out our other blogs for information about those topics.
Remember always to prioritize safety during the installation process. Always use safety gear and take precautions to avoid electrical shocks, falls, or other accidents. You can contact the manufacturer with questions about your racking mounts or panels. If you’re uncomfortable with electricity, call an electrician.

Step 1: Assess your roof condition
Step 6: Mount the inverter and connect to solar panel wiring
Step 1: Assess your roof condition
If you go with a roof-mounted solar system, you need to ensure that your roof can safely support your panels! If you or a friend are a roofer, bonus!
Look for leaks or structural damage. If you notice anything that would compromise an installation, it’s a good time (well, it’s A time anyway) to get an expert in for a quote on a roof repair or replacement. Check the spec sheet of your solar panels to determine load-bearing capacity and total weight.
If you’re on the fence, talk to us! One of our solar experts will be happy to help.
Step 2: Design your layout
Now, it’s time to design your solar system. You have two main options here.
Flush mounting
Flush mounting involves installing solar panels flat against the roof’s surface parallel to the roof’s slope. This method is standard for DIY projects because it is cost-effective and requires fewer materials than tilted rack mounting. The main downside is that flush-mounted panels will be less efficient than tilted ones because they get less direct sunlight.
Tilted racks
Also known as tilt-mounting, this method involves angling solar panels to face the sun directly to optimize direct sunlight exposure throughout the day. They require more materials and installation time than flush mounts.
In the northern hemisphere, tilting the panels towards the south maximizes daily sunlight access. You can take things further by researching peak sun hours in your area and even find the optimum tilt angle for your panels based on your zip code. You’ll need to plan around obstructions like vents, chimneys, skylights, and roof penetrations that might require you to re-adjust your design. Account for any shading in the area by other structures, as solar panels rely on as much direct sunlight as possible. Panels, especially bifacial panels– CAN operate with indirect sunlight, but you will not get maximum efficiency.
Step 3: Install roof mounts
Follow the steps given below to install roof mounts properly.
- Evenly space your roof mounts and position them using the dimensions you confirmed using the spec sheets back on step 1 according to the layout you planned during step 2.
- Use a stud finder to locate rafters or trusses to anchor the mounts and mark each location.
- Attach roof flashing under the roofing material and over the mounts around each marked location to prevent water leaks. Secure with roofing nails.
- Position the roof mounts over the flashing aligned with the marked locations. Ensure the mounts are level and square using a level and measuring tape.
- Attach the roof mounts to rafters or trusses using lag bolts or screws and washers.
- Tighten mounting hardware using a wrench or socket set, ensuring the mounts are firmly anchored to the roof. Do not over-tighten, or you could damage the roof or mounts.
- Generously apply roofing caulk or adhesive around the base of each mount where it contacts the roof to add an additional layer of waterproofing.
Step 4: Mount solar panels
After you have successfully installed mounts on your roof now you can mount the solar panels on them.
- Position your solar panels on the mounting hardware according to your designed layout. Tilt-mounted panels should be tilted facing south.
- Use a level to align panels flat and parallel to one another.
- Use a torque wrench to secure the panels to the mounting hardware with clamps, brackets, and other fastening devices that came with them. Refer to the manufacturer’s instructions for any questions, and call them if unsure. Do not use hardware that does not belong to the panels, or you may damage them and void your warranty.
- Gently shake each panel to confirm that they are correctly installed.
Step 5: Wiring
Check the condition of the solar panel wiring to ensure there are no cuts, exposed wires, or damaged insulation. Return or replace any damaged products. Locate the junction boxes. If solar panels have integrated junction boxes, this is where panel wires are typically connected.
For Integrated junction boxes
Connect the positive and negative wires from the solar panels to the appropriate terminals within the junction box, securing connections with wiring nuts. Ensure a tight and secure fit.
For External junction boxes
You may need external ones if your panels do not have integrated junction boxes. In this case, strip the insulation from the ends of the wires. Follow the manufacturer’s instructions for wiring connections. Connect the positive and negative wires from the solar panels to the corresponding terminals in the external junction boxes. Secure the connections and seal the junction boxes with electrical tape to prevent moisture ingress.
Wiring conduit
Check your local electrical codes and regulations to determine if you need to encase your wiring in conduit. If so, run the wires through the conduit and secure it to the solar panel frame or mounting structure.
- Apply electrical tape or weatherproof sealant to any exposed connections or junction boxes.
- Secure the wiring to the mounting structure or conduit using cable clips, zip ties, and other suitable fasteners to limit movement and exposure to the elements.
Step 6: Mount the inverter and connect to solar panel wiring
Your inverter should be mounted in a well-ventilated area, preferably near your main electrical panel, in a location that is easy to access for maintenance.
- Securely mount the inverter on a sturdy wall level to the ground and properly anchored, following the manufacturer’s instructions.
- Connect DC wiring from the solar panels to the inverter using wiring nuts or terminal blocks as the inverter’s manual specifies. The positive and negative wires are typically connected to the corresponding DC input terminals on the inverter. Avoid over-tightening, which can damage wiring or terminal blocks.
- Connect AC output wiring from the inverter to your main electrical panel. This is where the inverter feeds converted AC electricity into your home’s electrical system. The AC wiring may need to be connected to a dedicated circuit breaker or integrated with your main electrical panel. Avoid over-tightening.
- Install circuit breaker if necessary for safety or compliance.
Step 7: Test the system
- Use a multimeter to test the voltage and continuity of the wiring and connections, verifying that there are no loose connections, shorts, or faults.
- If any faults are detected:
- Try reconnecting or tightening loose connections
- Insulate any wires that are causing short
- Replace damaged components.
- Ensure proper grounding.
- If, after taking these steps and testing the system again, you still detect issues that you can’t resolve, it may be time to contact a professional electrician.
The Bright Idea
A DIY solar panel installation takes patience and know-how, but it’s worth your time and energy. Use this guide to get started, and let us know if you have any questions along the way!